I don’t know how many different brands of nail polishes I’ve tried, how many different technique I’ve tried from keeping my colour from chipping (by applying base and top coat) but nothing seems to work for me? I spend high amounts of money on nail polishes and getting them professional done at a spa, but it always seems to chip and come off within 2 days, each and every time. I don’t have to time to keep re-doing my nails every other day, but I do love having colour on my nails, it’s a fun way to show your personality and add a little spice to any outfit.
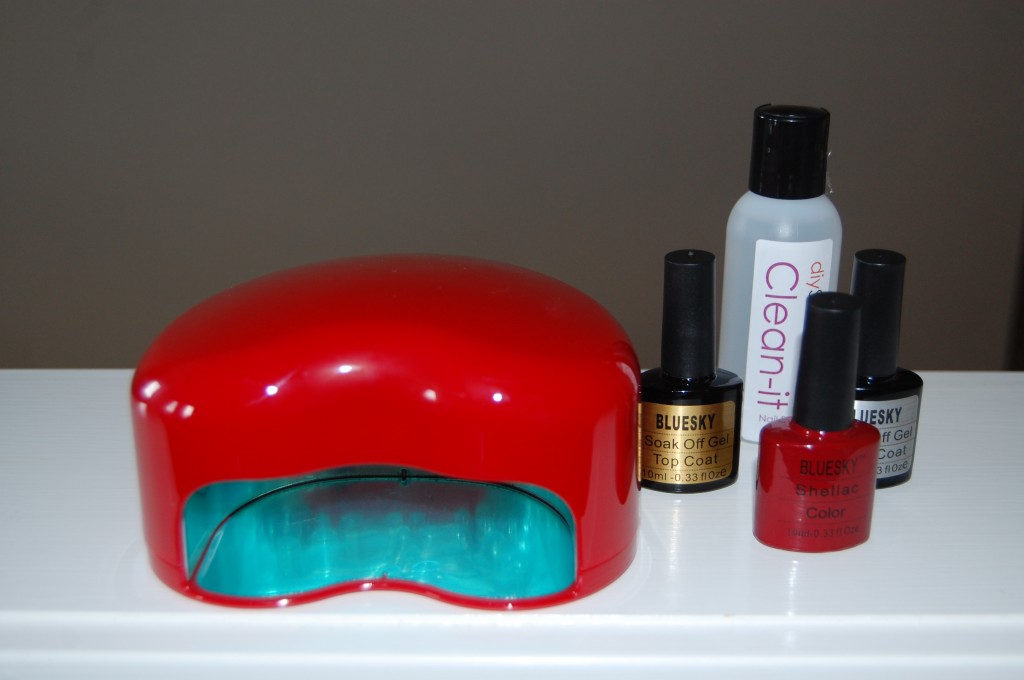
I’ve been hearing a lot about Shellac nails done at the spa, but you know I’m cheap and hate wasting money on products and services I can do at home for a fraction of the cost. When I heard about DIY Shellac, at at-home shellac company based out of Toronto I couldn’t wait to test it out for myself. I was lucky enough to be shipped one of their full kits for review from the amazing owner, Arie, and all I can say is amazing! In the back of my mind I was thinking “I’m sure it will work, probably last a little longer than standard nail polishes”, but I never thought it would last this long on my nails.
This revolutionary product applies like polish, wears flawlessly for 14 days and is removed within minutes. If long lasting wear and polish-like application is what you’re looking for keep reading for my first experience with Shellac and learn more about this product.
I was a little worried when I first heard about shellac cause of past experience with gel nail polishes, they always left my nails damaged from the result of soaking them in pure acetone and the abrasive filing to remove the gel after each application. Shellac on the other hand offers a more nail-friendly solution by taking gel to the next level, no sculpting or filing, just thin coats of polish on your natural nail, with a brief time for curing under the UV lamp between every coat. Shellac truly is excatlly like traditional nail polish, and unlike soak-off gels it comes in a polish bottle and dries under a UV lamp within minutes. There is absolutely no damage to the natural nail in the process, yippee!
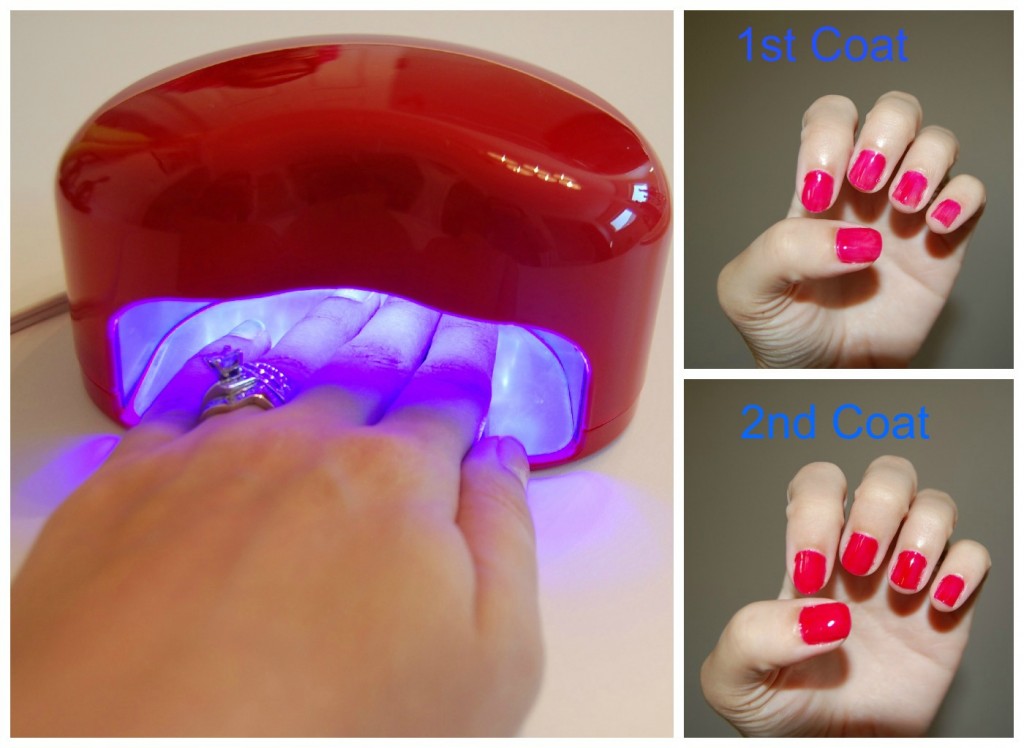
Shellac paints on like traditional polish just like your average manicure, base coat, two coats of polish and a top coat. The only difference is your hands will be placed under the UV lamp in between coats. The polish dries completely within two minutes.
So start with a thin layer of base coat and cure for 60 seconds under the UV lamp. Apply first layer of colored gel of your choice and cure under UV lamp for 90 seconds. Apply second layer of colored gel (if you want) and cure under UV lamp for another 90 seconds. Apply top coat and cure for 90 seconds under the UV lamp. Wipe each nail with a cosmetic cotton pad soaked with 99% alcohol to remove sticky film after when you’re all done.
The formula is thin and flexible like polish, so it not only looks natural, it provides strong natural nail protection with a resilient mirror finish that resists dullness and chipping, even during the most rigorous activities. I even did extra house cleaning with harsh chemicals to test it out!

I did make one mistake though, I didn’t really read the instructions that well before I started, although super easy I missed the most important step at the end with wiping each nail with the pure alcohol to remove the sticky film and when I went to pick up my dog, her fur got caught in the gel polish. Haha yes I had a blonde moment there, so this may be why my nails don’t look as shinny as they should.
As amazing as Shellac is on, removal is just as satisfying! No drilling or filing, just soak nails in pure acetone for about 10 minutes, or if you’re like me, you can just peel back the gel polish and it comes right off. Took me only 5 minutes without any acetone and my nails looked perfect after.
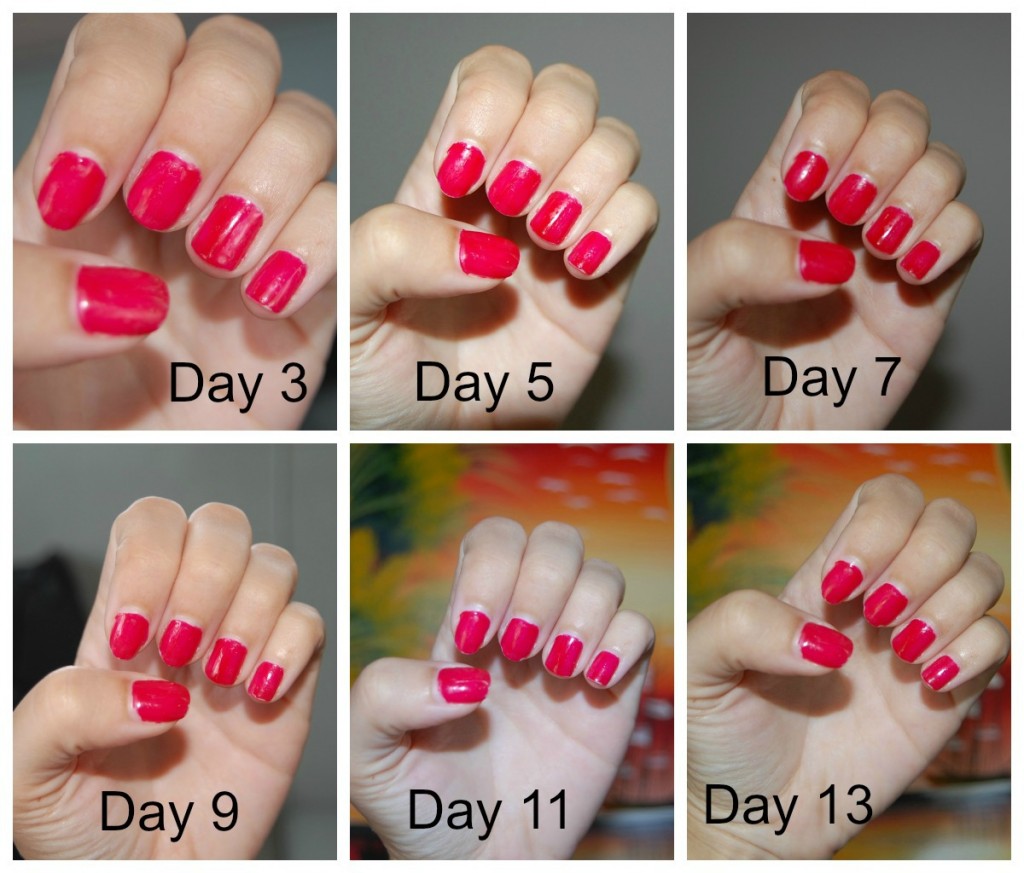
By day 14 my shellac manicure was still looking great, not one chip and with the exception of my natural nail growth, the finish and colour looked as perfect as it did on day 1. People thought I just did my nails and no one would ever know unless I held my nails up to their face. I could work on painting my nails better, that’s the only way you can tell its not professional done, I’m not a pro, that’s for sure! Still no nicks, no scratches, no wrinkling from my nail bends, nothing! The flexibility and shine really do hold up.

Now I know shellac isn’t for everyone, but it’s truly unique and the best option for anyone who wants a long lasting manicure like me. I hate doing my nails every other day and this at home kit is the answer. Now it may seem pricy at first as you need to buy the UV lamp which cost $140, a top coat bottle priced at $15 and the base coat bottle priced at $15 also, then the last item would be your nail polish colour of choice, again $15 each. Total price to get you going would be $185. If you break it down on how much you would spend to get the same look at the salon it would pay for itself after only 5-6 applications, not bad at all! They also have a wide arrange of colours, more than 60 to pick from!
I give this product a A+, I’m so in love I can’t even tell you. No chips for me after 14 is un-heard of, took me only 20 minutes max to do both hands, probably less time than it take me with traditional nail polishes as I have to wait forever for each layer of polish to air dry. This is a must try for sure!
***Disclosure: product was sent to me for review consideration***
