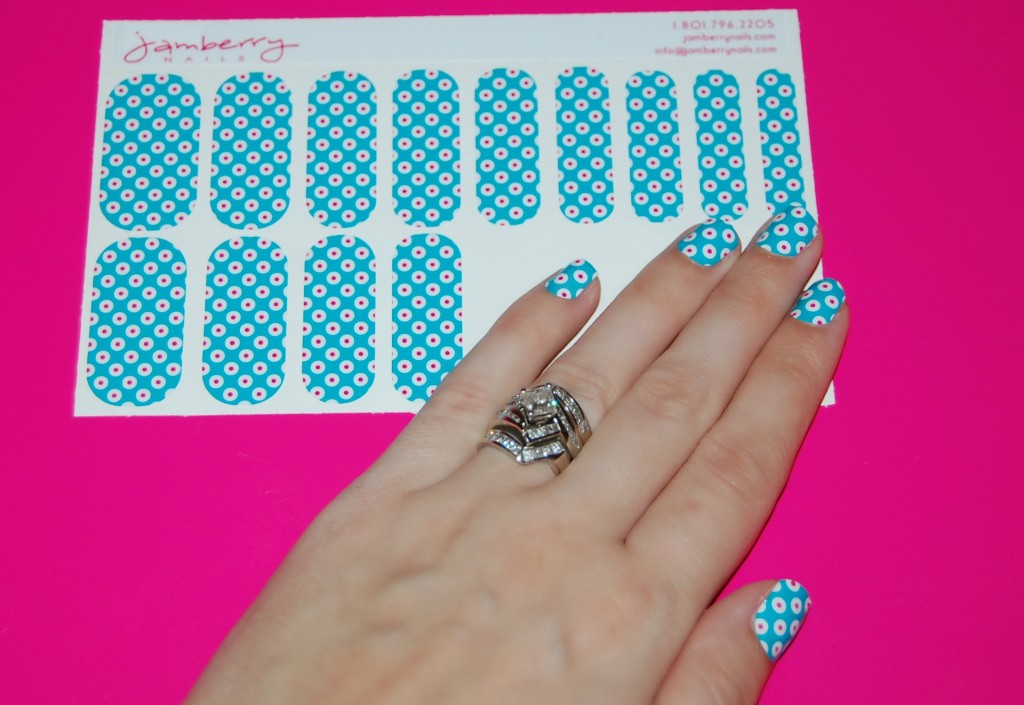
Say godbye to boring old nail polish and hello to Jamberry Nails. With these nail shields you can mix and match patterns, colours & style for your very own one of a kind nail style. I use to pay $40+ dollars to get my nails done every other week, now you can get the same salon quality designs right from the comfort of your own home.
Jamberry nails has over 150 different styles, pattern and colours to pick from and each sheet cost only $15. With each sheet you will get 18 separate shields which will be enough to do 5 different applications of your full 10 fingers (if you cut them in half like I did). If you’re doing your toes I would say you will get 4 separate applications out of one sheet. That works out to only $3 for a full set of nails, what a deal. They say these will last 2 weeks on your fingers and about 3-4 weeks on your toes- way better than any nail polish on the market right now.
Also for a limited time if you buy 3 sheets you will get a fourth one for free- working out to only $2.25 for a full set of nails, amazing!
Okay so you probably just want to know how easy these are to apply, well in total which included reading the instructions, taking off my old nail polish, cleaning my nails and applying the nail shields (the one I tested out was called Turquoise and Pink Polka), it took 22 minutes.
First step is to take off nail polish, if you have any one.
Second step is to cut and file your nails to the perfect shape you want.
Third step is to match your finger/toe to the nail shield that best fits (I suggest going up a size if you think it’s a little too small)- better to cut the extra off later than having it too small.
Fourth step is to peel off the nail shield and warm with a blow dryer for about 5 seconds (or until its soft and flexible)- you will see it start to curve/ fold in half.
Fifth step all you have to do is press the shield onto your nail. I tried to line the shield up in the middle of my nail and then pressed with my other hand for about 10 seconds.
Sixth step is to trim the top of the nail with scissors and file off and remaining shield.
As an extra step after that you can re-heat and put pressure to the nail shield again to make sure it’s sealed to your nail.
You’re done! I bet with practice I could get that down to about 10-15 minutes- I was really taking my time, wanted them to be perfect- but its super easy, anyone can do it! Way easier than painting my right hand with nail polish, that’s for sure!
One lucky reader had the chance to win their own set by leaving a comment on Facebook telling me which one they would order if they won? And the winner of the Jamberry Nails is Brittany Freeman.
***Disclosure: product was sent to me for review consideration***

I love Jamberry! Not only are they stylish, but affordable, easy to apply and long lasting. No more messy polish and best of all no chipping, fading or reapplying every 2 days!
hi there!!!
love that you love jamberry!!! i just became a jamberry consultant in Canada!
if you would like a sample or want to become part of a rapidly growing team please send me an email!
stephanie at dandilionfluff@hotmail.com
As much as I would love to join, I just dont have the time, since I already run my own business, charity, blog and work part-time- hehe- I’m a busy girl