Still getting emails from you on how to keep your teeth looking nice a white without perfessional whitening (due to the cost) and something that’s targeted towards people with sensitive teeth. I’ve talked about Perfessional Zoom Whitening (which is really expensive) and I hated it; the pain wasn’t worth the outcome. Crest Whitestrips are great if you don’t have sensitive teeth and have 7-10 to get your teeth white?
The amazing people at Whitening Lightning sent me some of their products to test out cause they know how important a white smile can be. It not only boosts ones confidence, but will make you feel a little more special in your everyday life. I know there’s a lot of products on the market today to pick from and it can become overwhelming at times. Most of them promise to provide a white smile fast, but Whitening Lightning is the fastest, longest lasting product I’ve tried so far; plus it’s easy and convenient to use……. only 20 minutes.
Their best sellers is the Dial A Smile Professional Whitening Kit, so you know I had to test that out first!
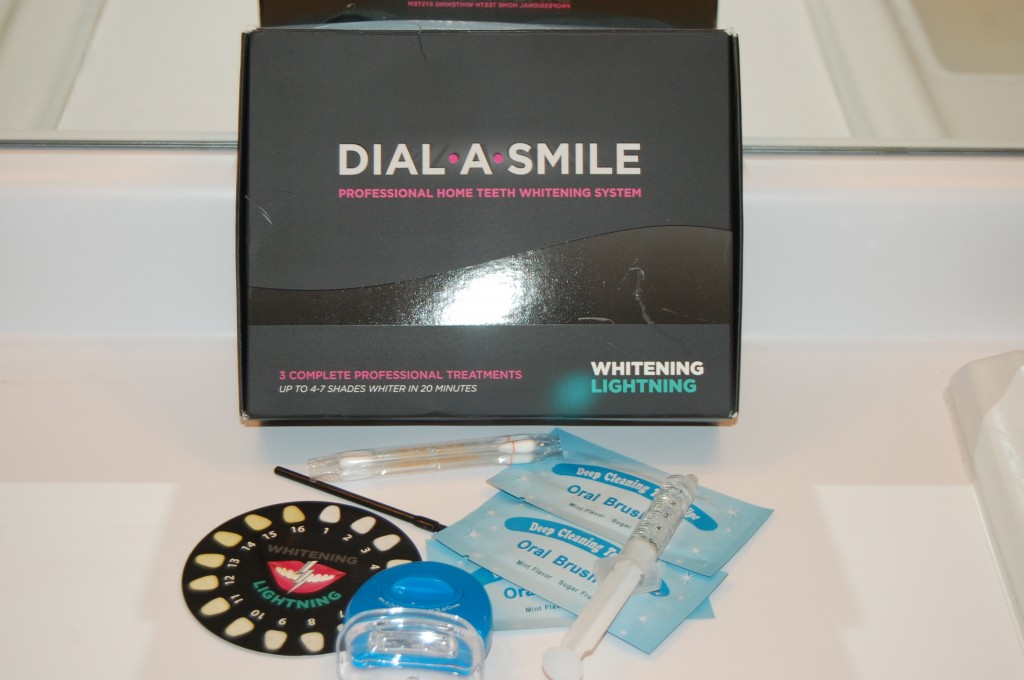
The kit comes with A shade dial, dispensing dish, LED light, gel syringe (3 treatments worth), 3 teeth wipes, 1 application brush + 3 vitamin E swabs. I know what you’re thinking…. this seems like a lot of items and a lot of work? At first, I was a bit overwhelmed too, I thought this was going to be a huge long process, but I was wrong. The instructions were fairly quick and easy.
First up is to use the shade dial to to determine your “before” color. This is an easy way to see your process, for some reason my picture did not turn out for this, but I was a shade 7. I thought that was kinda high, since I thought I had somewhat white teeth… I guess not??
Next up is to use the blue teeth wipes to wipe your teeth dry.
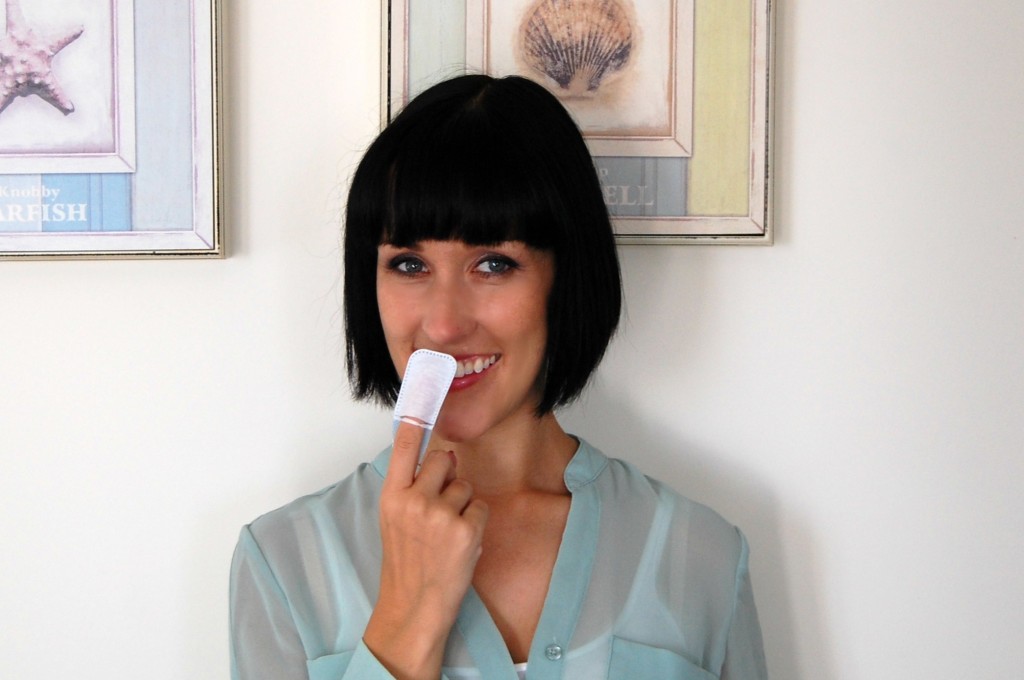
Next you’re going to use 1 of the vitamin swabs to swab your gums & lips, this will just help protect them from the UV light!
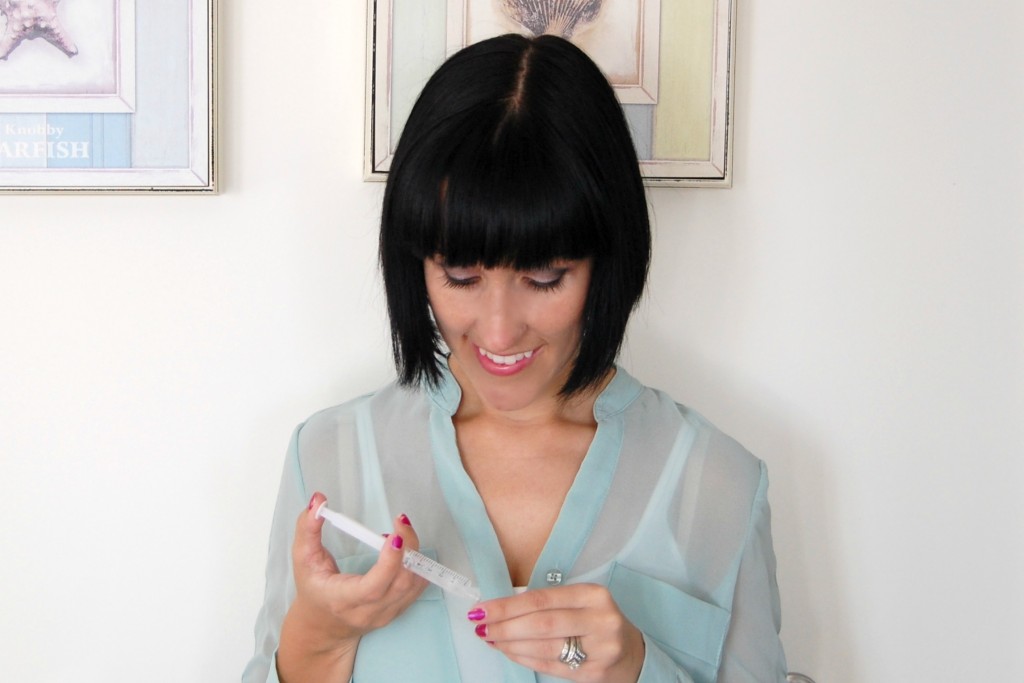
After that you take your gel syringe, break off the top and pour out 1.5ml of the whitening gel into your dispensing dish. The syringe is marked in ml, so you know how much you’re using. I found 1.5ml to be way too much, and ended up wasting about half of it. You can’t get it back into the syringe after pouring it into the dispensing dish. I guess if you’re doing every single tooth it might be okay, but I usually only focus on the front and bottom front of my teeth, also this way you’re going to get at least 5 treatments out of the kit, instead of the 3 that it recommends…. way better.
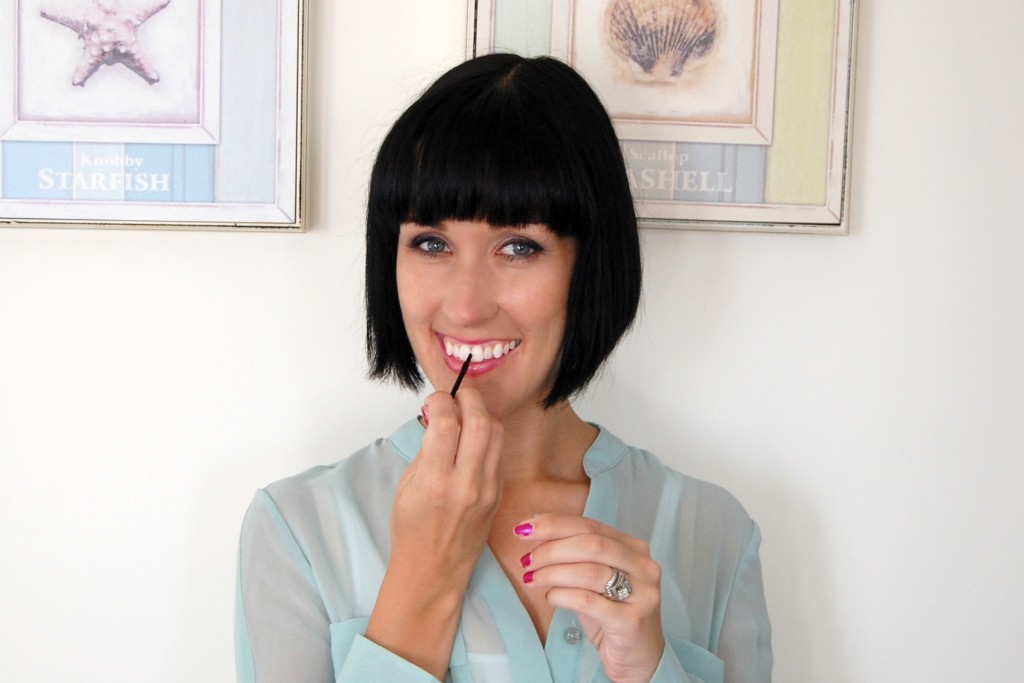
You’re ready to apply the whitening gel, just paint on a thick layer to each tooth you want to whitening using the application brush.
Final step is to take the little blue light and leave it on your teeth for 20 minutes. You can put it in your mouth so you can do other things while your whitening….. like watching TV?
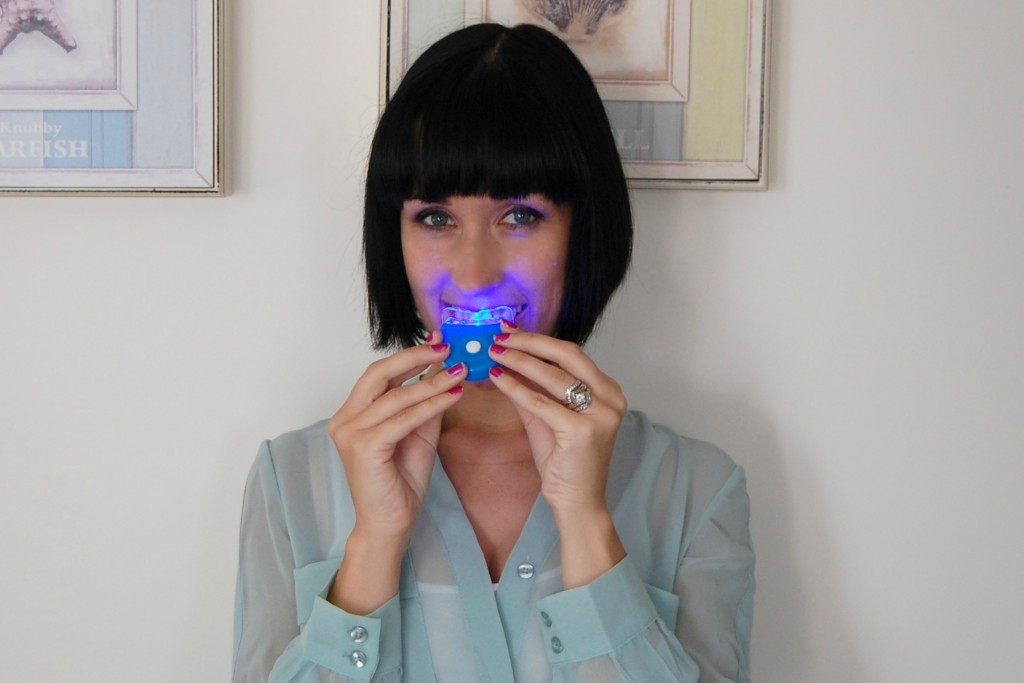
I did end up going 3 shades whiter, now it says the average person will see 4-7 shades whiter in only 20 minutes and I believe it.
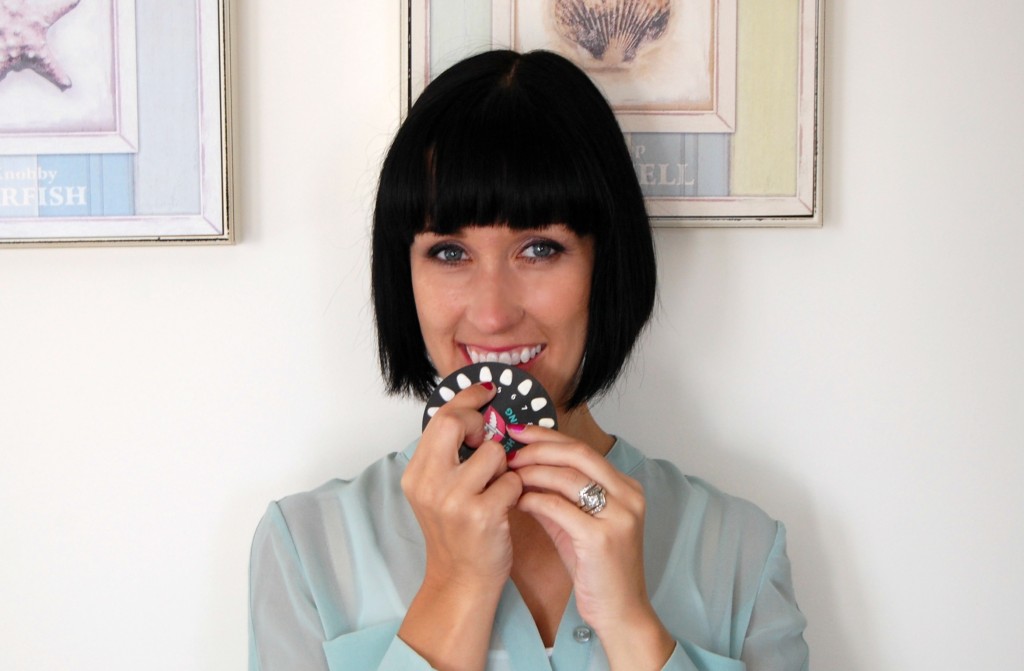
I know you want a whiter smile, but you wanna know the price….. regular price for this kit is $399! I know this may seem expensive at first, but if you think about how many treatments you’re going to get (at least 3) and if you whiten your teeth my way, you’ll get 5 treatments, it’s going to cost a lot less than going to the dentist!
Now come on, you know me better than that, you know I’m gonna have a deal for you….. wait for it….. right now using my promo code FASHION70 the amazing people at Whitening Lightning are going to give you 70% off, yes that’s right, 70% off, making your $400 kit now only $120……. That works out to be only $24 a treatment!
Also stay tuned as I test out their Super Booster Pen & Lip Glosses!
***Disclosure: product was sent to me for review consideration***

Going to be buying this for sure, thanks for the review